
- QuickCuts
- Nov 19, 2025
- Attachments / Implements
Make quick work of seasonal jobs: how to install and remove four time-saving Grasshopper attachments
Key Takeaways
- QuikAjust system swaps Grasshopper Mower attachments fast
- PowerFold deck lifts for easier attachment access
- Remove PTO shaft before detaching front implements
- Locking pins secure attachments during install/removal
- Seasonal swaps expand zero-turn mower year-round use
Maintaining your grounds involves much more than mowing, but how many different tools do you want to purchase, store, and use to manage a range of seasonal jobs? Consider the initial equipment investment plus keeping up with routine maintenance, buying parts when needed, and dealing with incidental repairs.
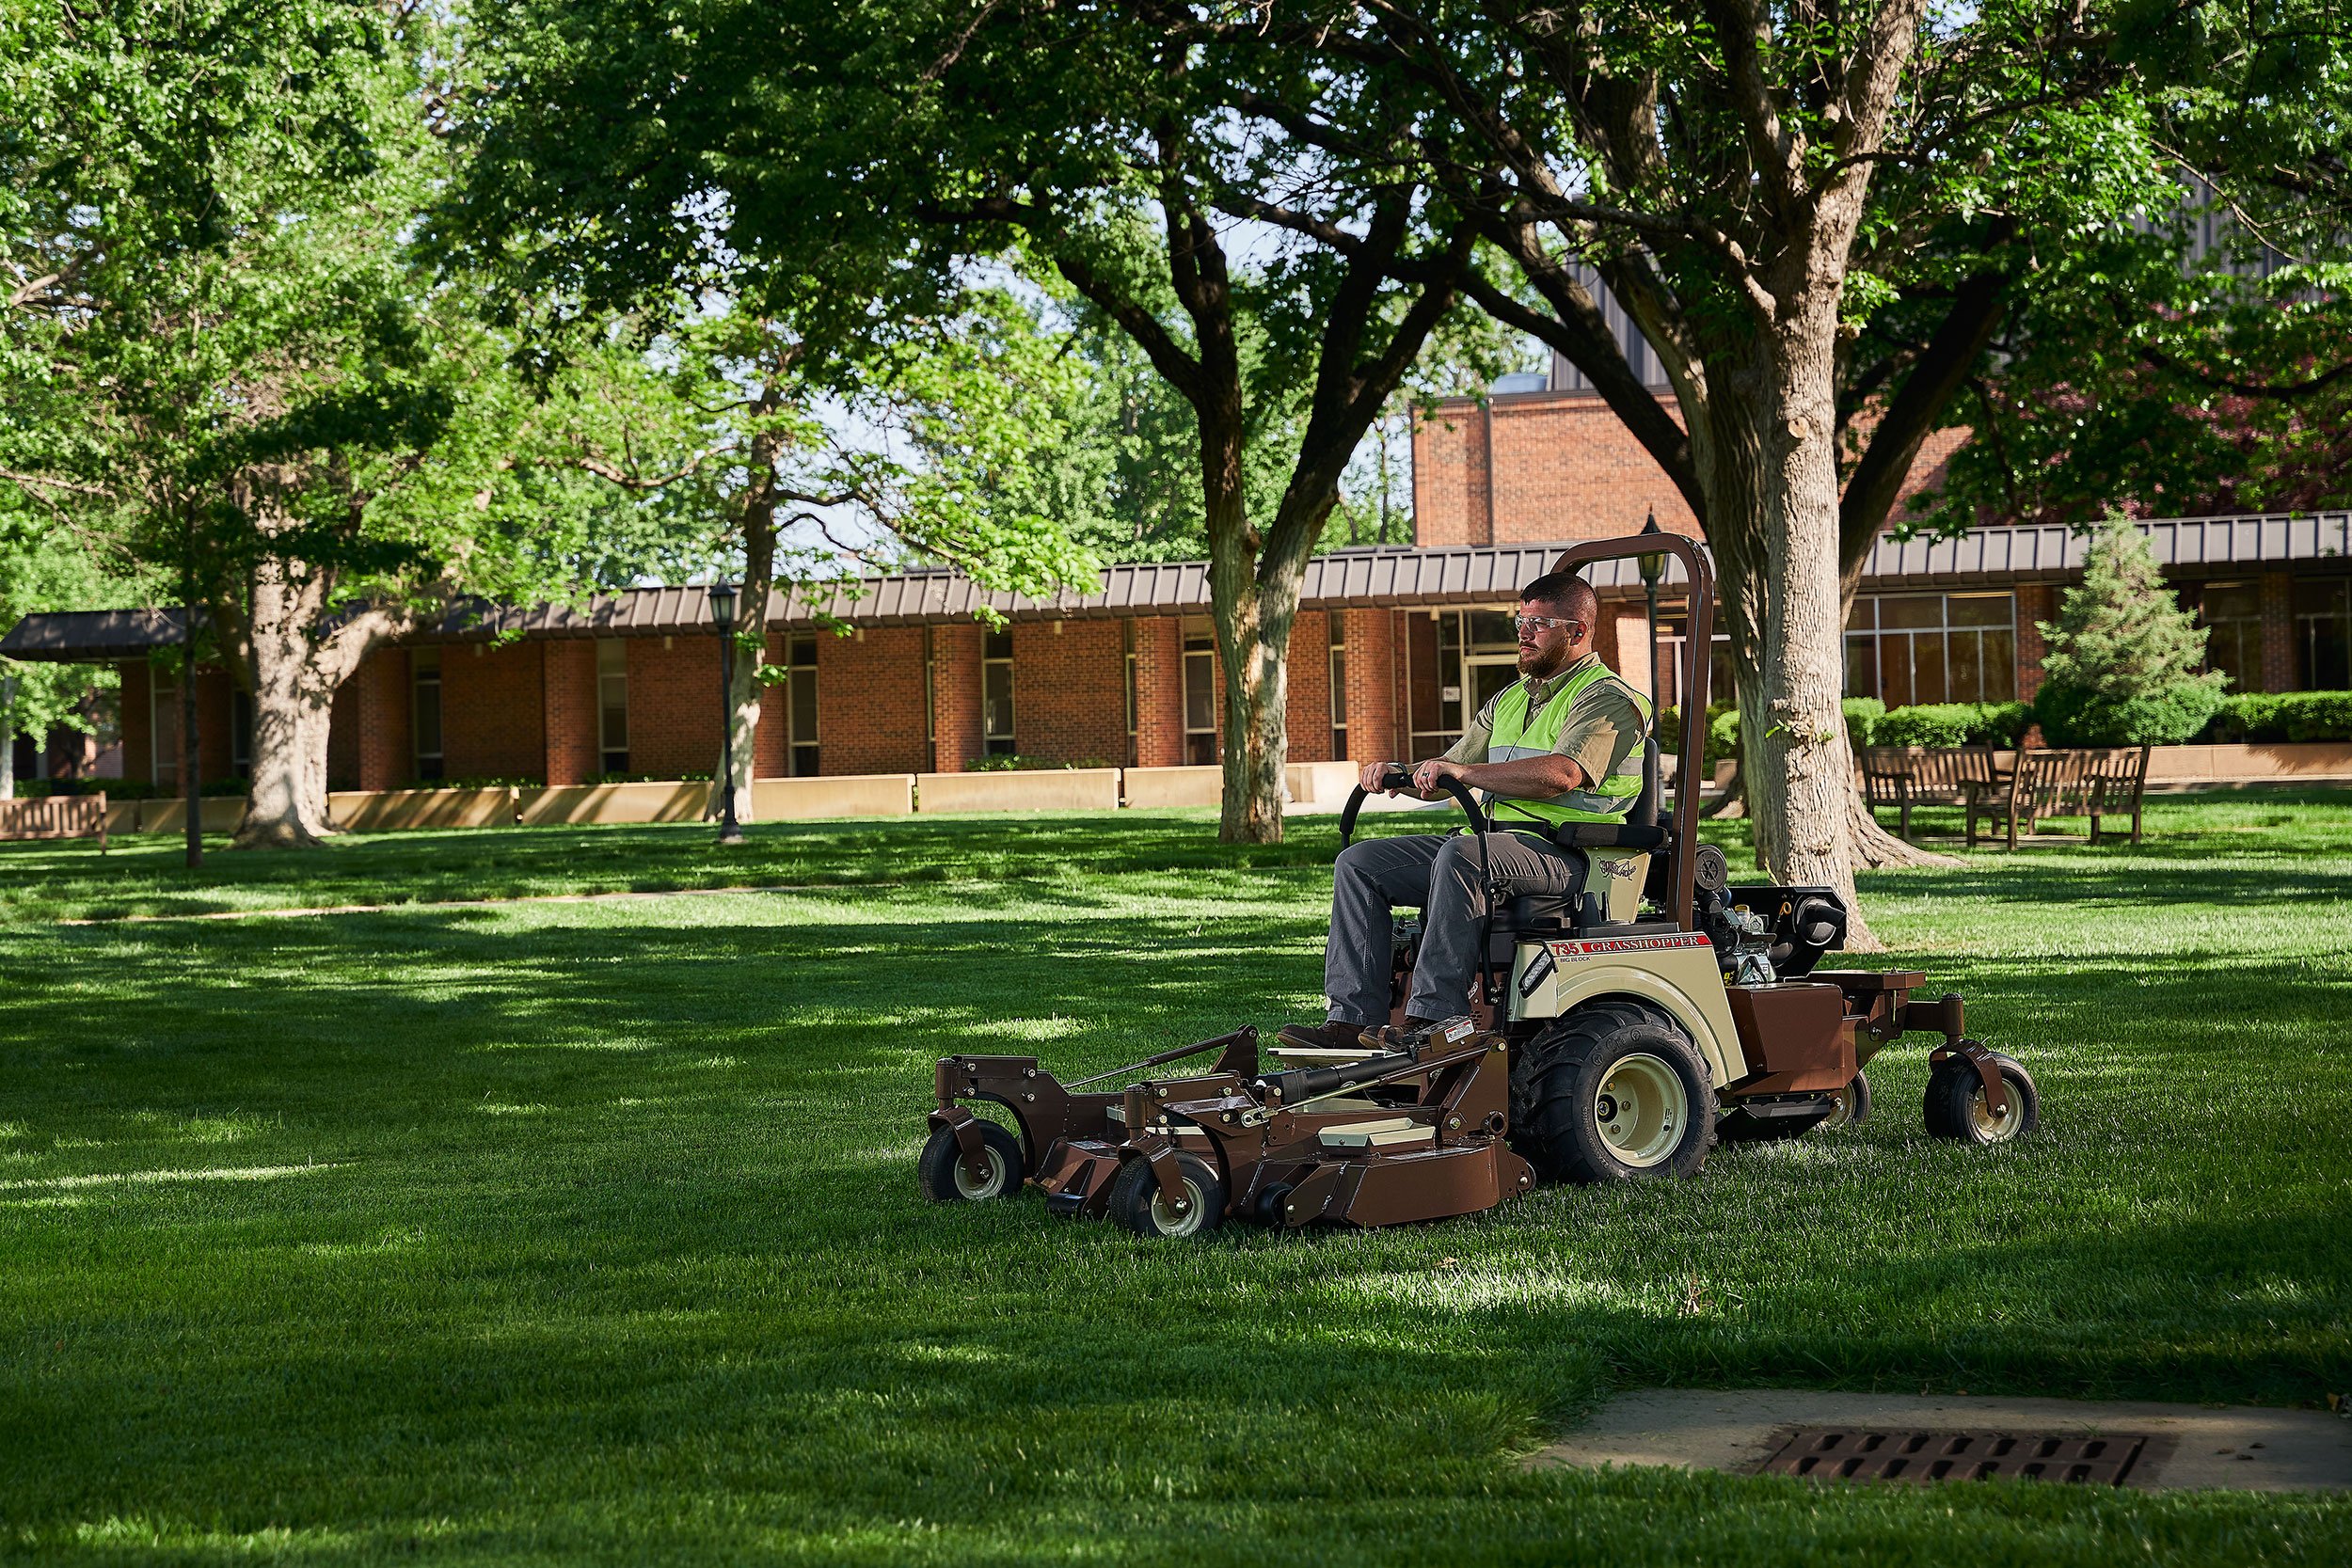
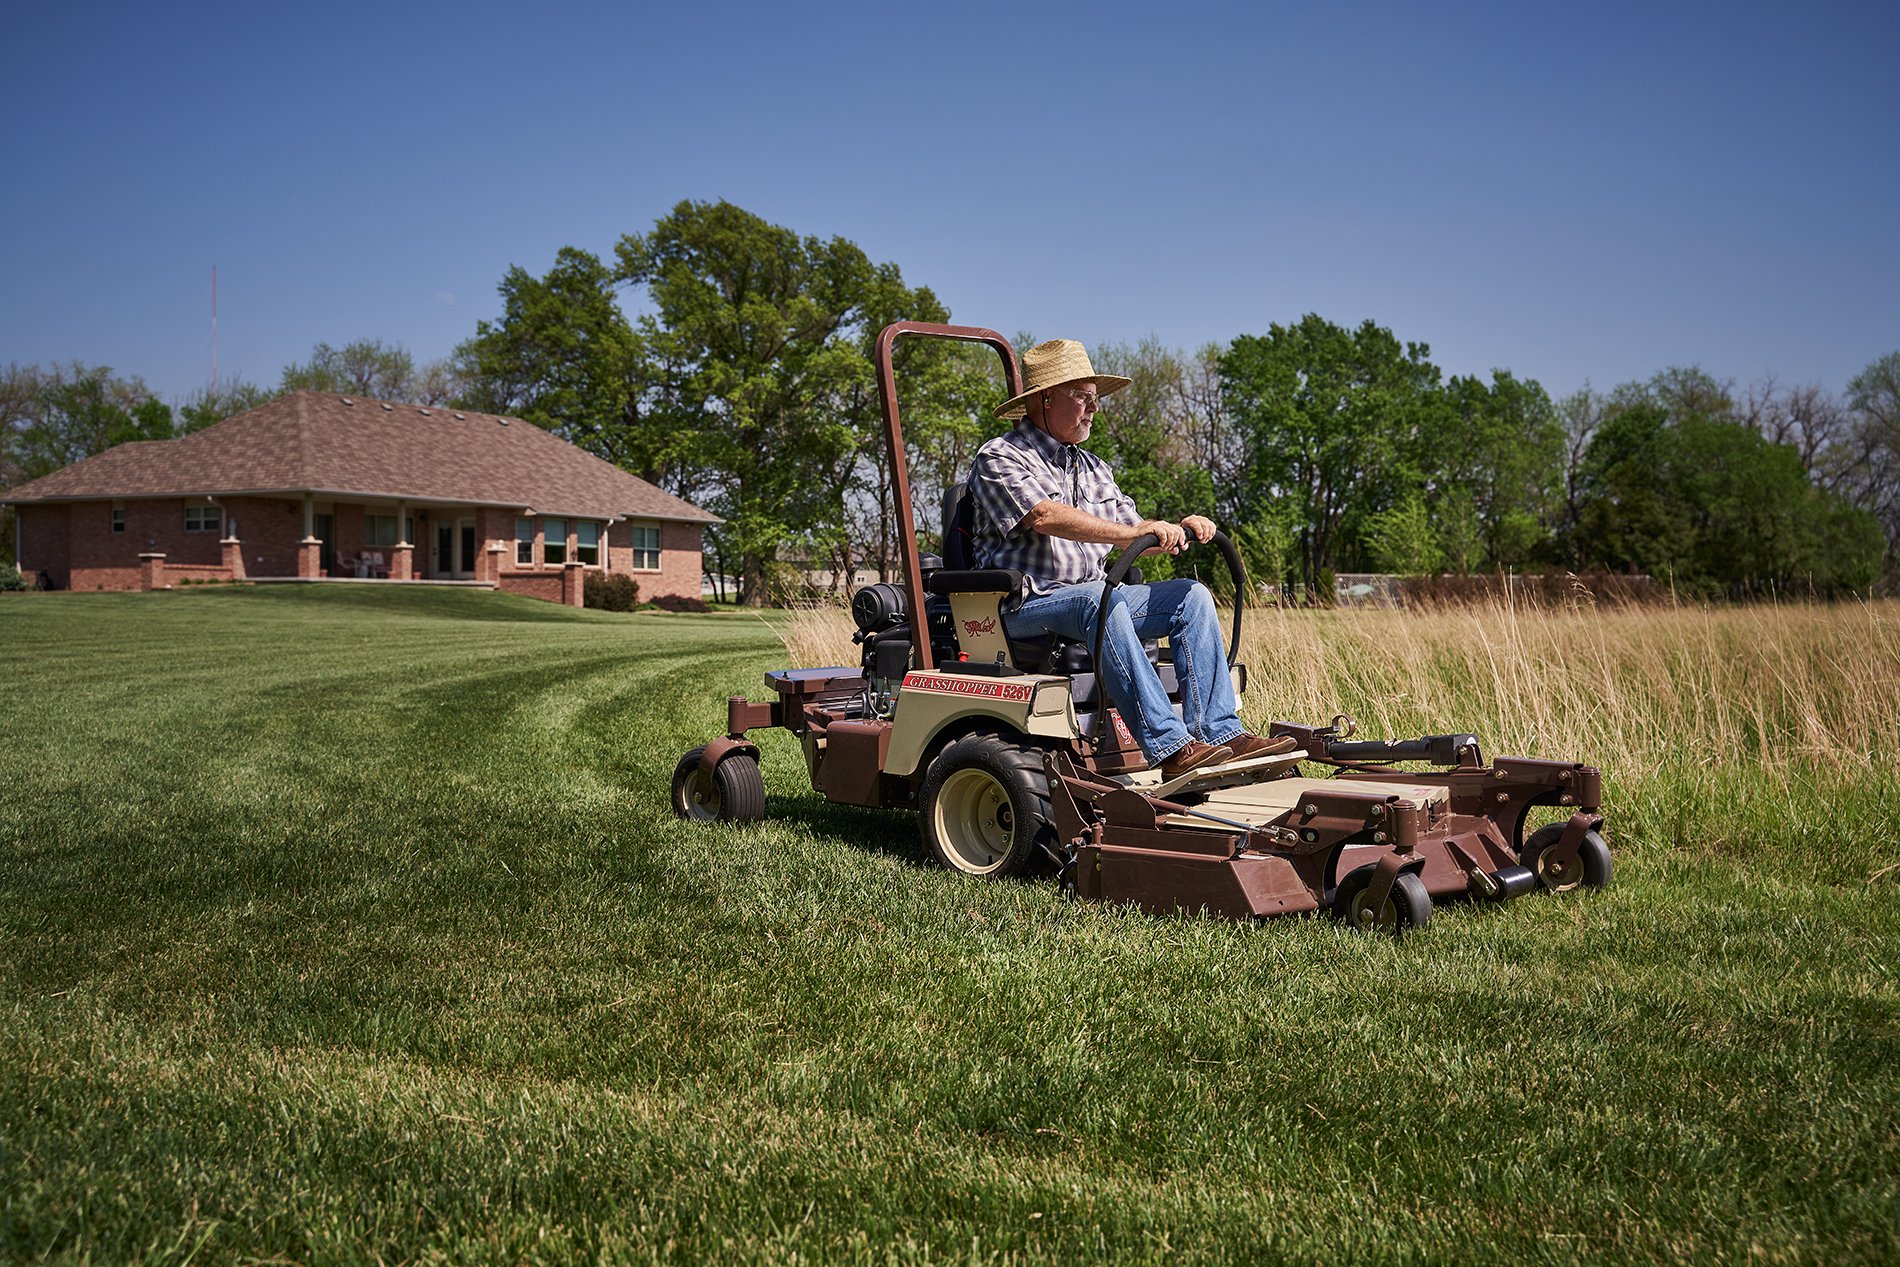
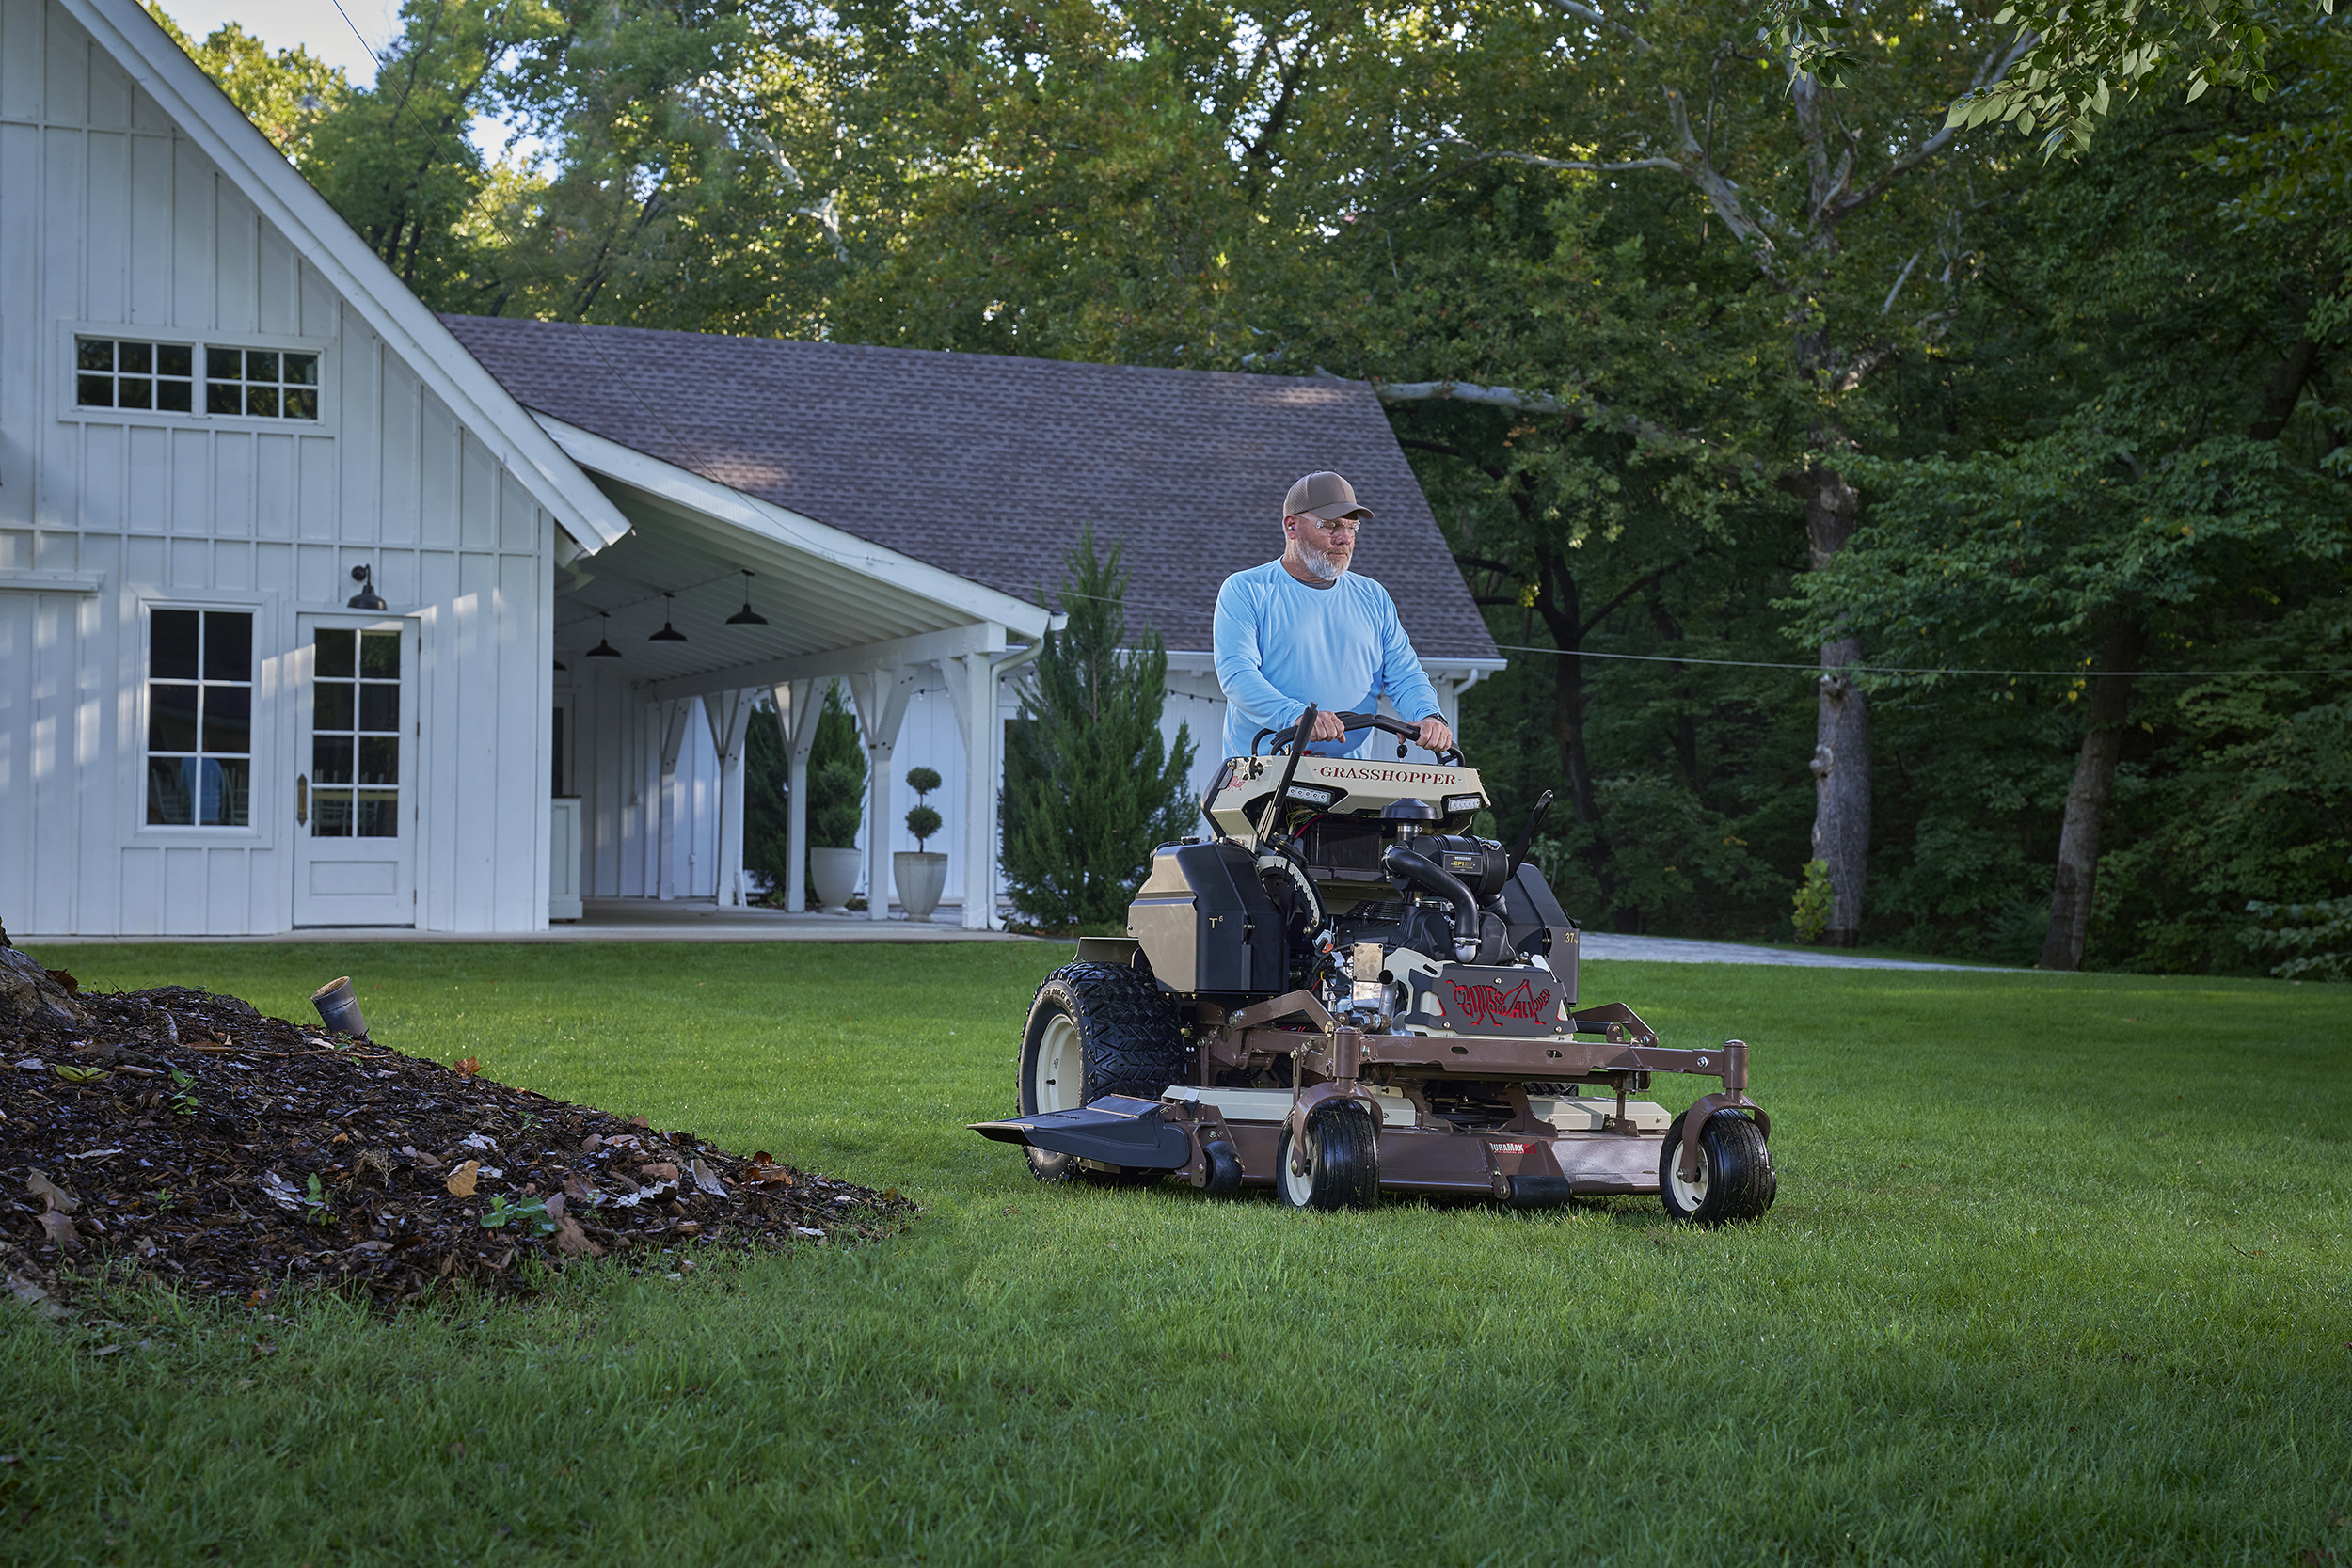
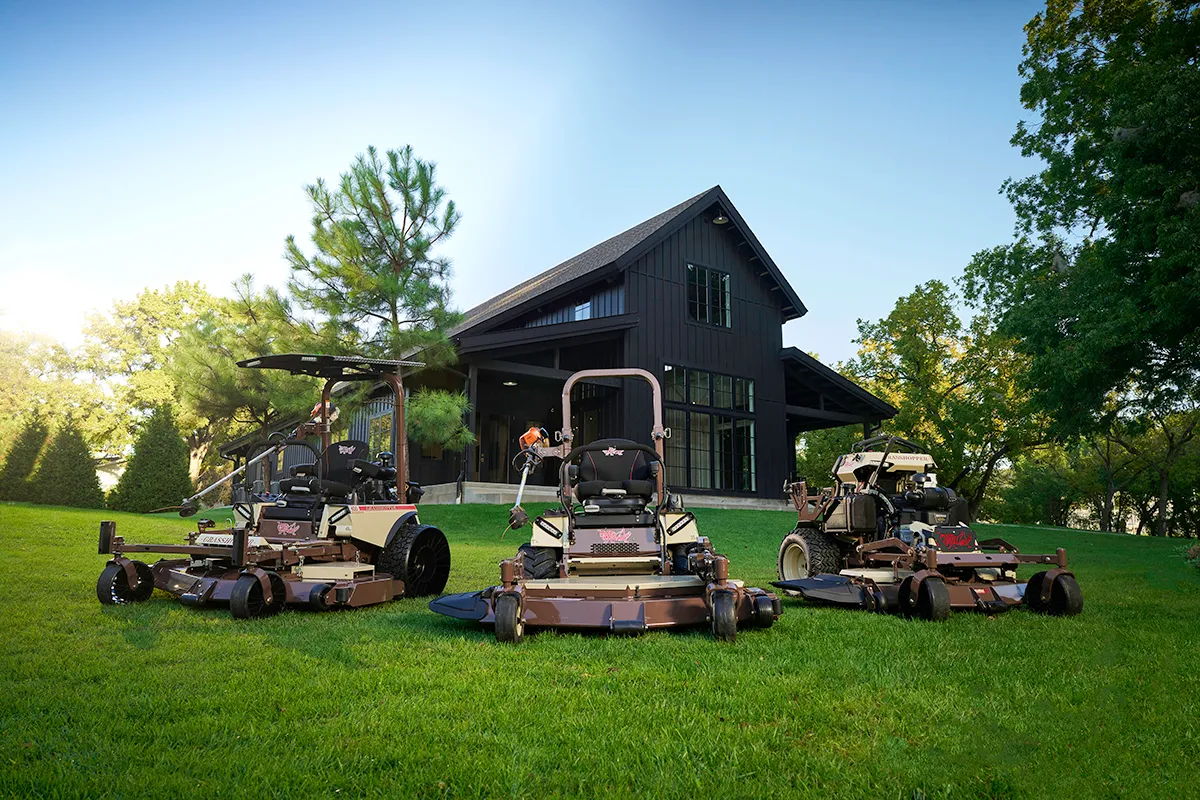
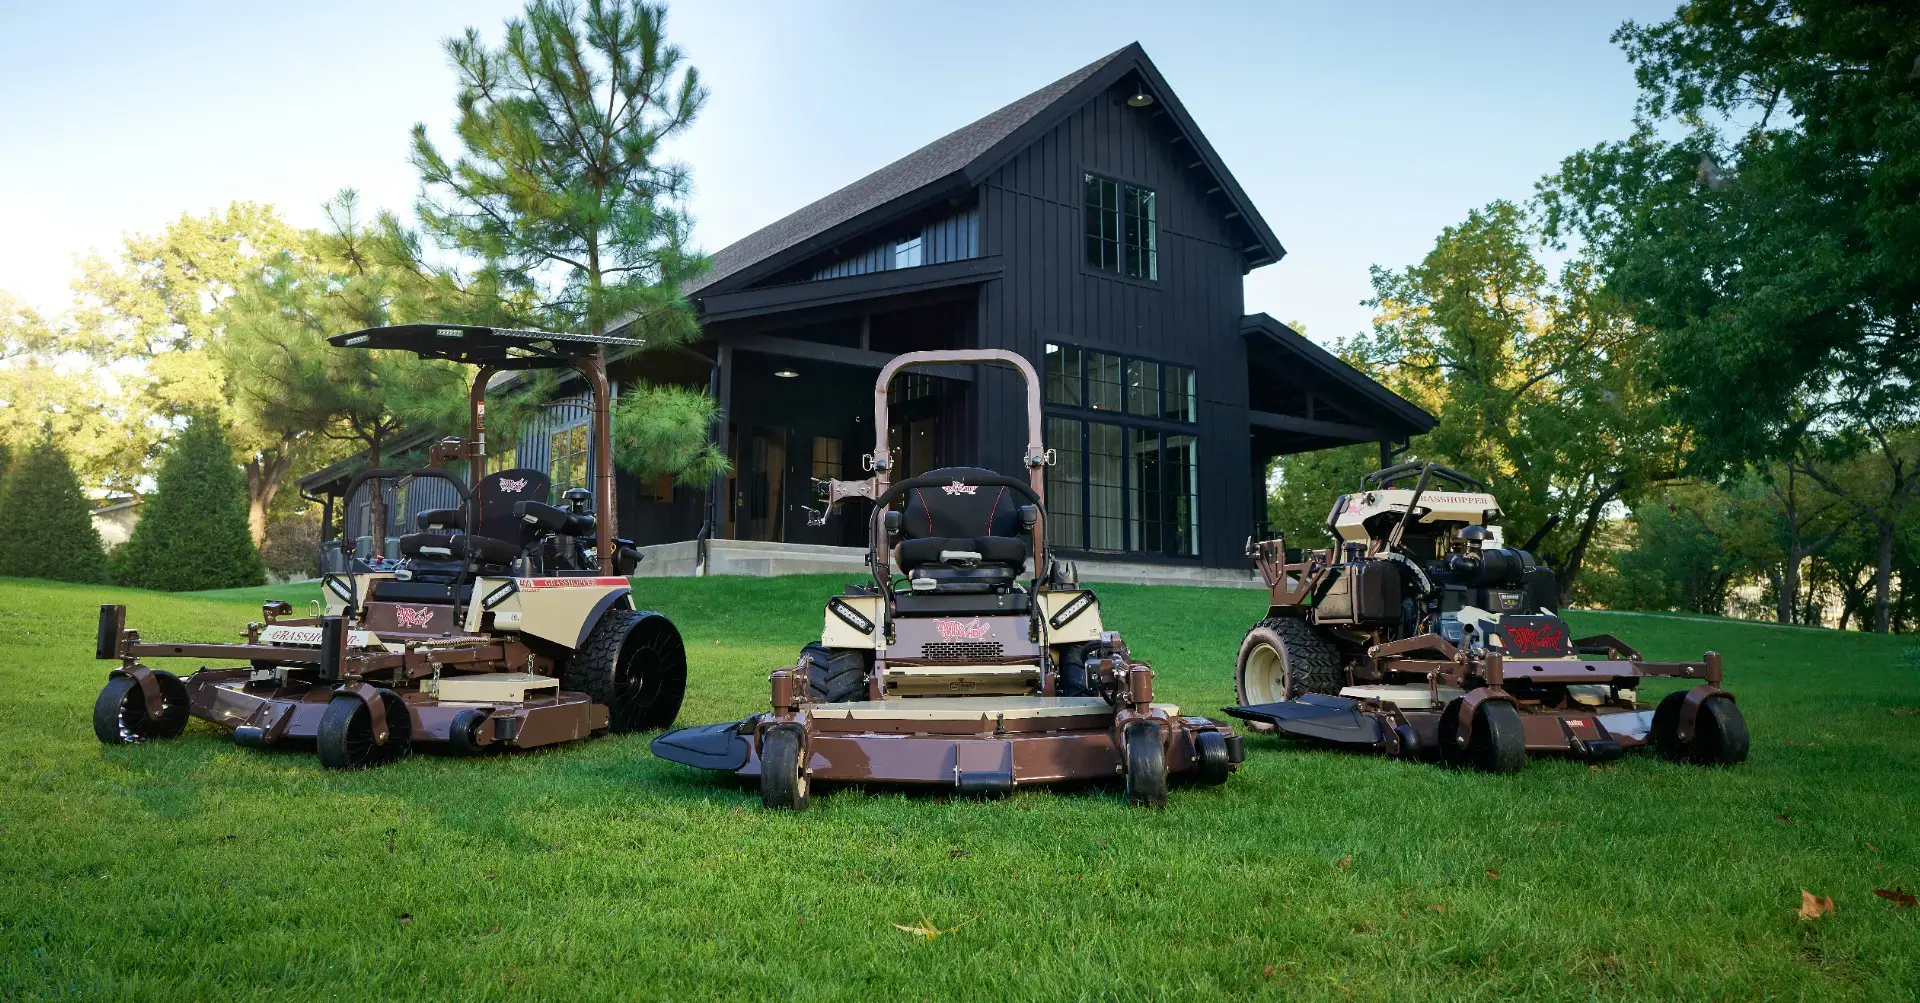
Why not keep it simple? A Grasshopper FrontMount™ mower is a versatile workhouse that is designed to handle much more than cutting grass. With a variety of job-specific attachments available, you can minimize the number of separate machines you need for property maintenance and streamline your workflow.
Whether you’re blowing leaves, clearing snow, aerating the lawn, or moving material, the Grasshopper Mower attachment system allows you to easily connect and disconnect equipment efficiently.
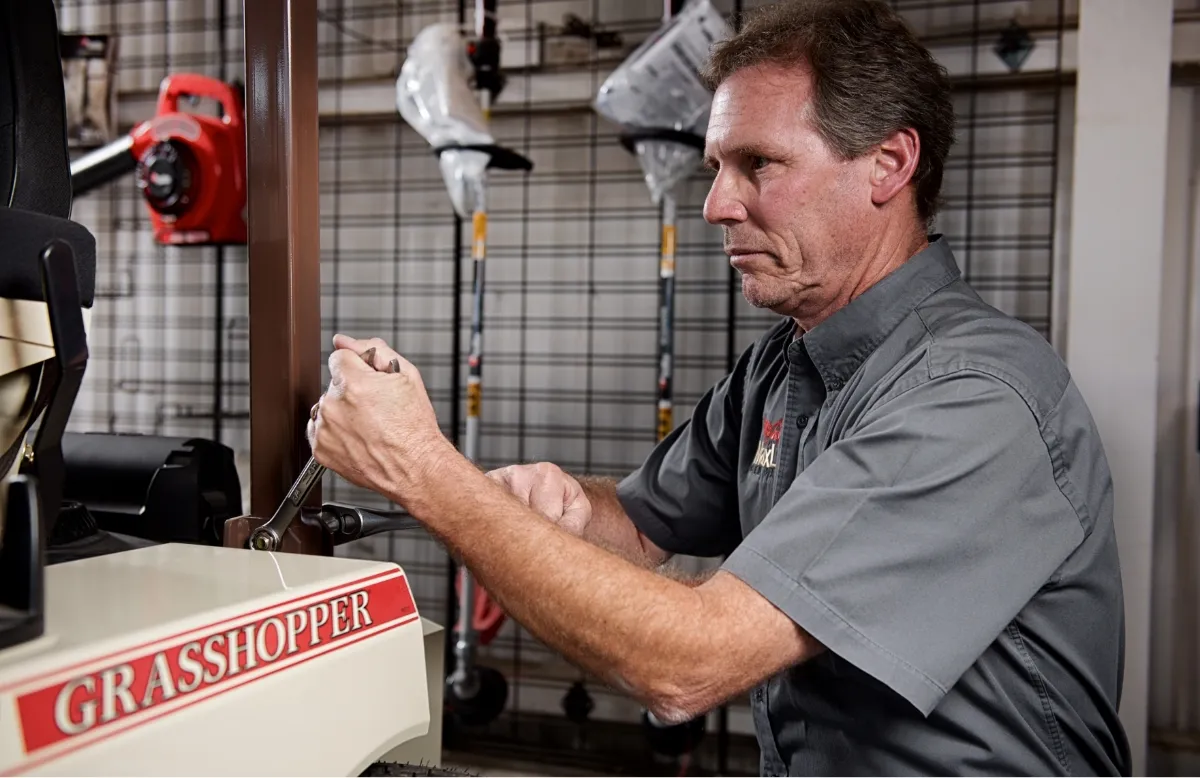
We’ll show you how it works. The following guides—demonstrated by product specialist Jason Tolle—offer step-by-step instructions for installing and removing four commonly used Grasshopper attachments.
How to install and remove the Turbine Blower
During fall cleanups or after storms, large amounts of leaves can collect along curbs, fences, and landscaped edges. Handheld blowers can blow leaves, but covering long stretches takes time—and walking an entire site isn’t always practical. The PTO-driven Turbine Blower allows you to stay seated and direct airflow where you need it, especially in open areas or long linear runs.
Using the mower’s traction tool and built-in mount system, installation is designed to be handled by one operator. You’ll gain better control when you’re moving leaves and debris, especially across large swaths of open land.
Installation:
- Position the blower and slide the mounting hooks over the attachment bushings.
- Rotate the D-ring latches down to lock the blower in place.
- Attach the PTO shaft.
- Raise and pin the kickstand leg.
- Use the traction tool to gain slack and attach lift chains on both sides.
- Plug the control harness into the joystick connector under the seat.
Removal: Unplug, release chains with the traction tool, lower the kickstand, disconnect the PTO, rotate D-rings forward, and lift the blower off.
How to install and remove the DriftBuster Snowthrower
When snow piles up, clearing large areas with small walk-behind equipment can require significant time and energy. The DriftBuster™ Snowthrower allows you to relocate snow and maintain access routes, driveways, and paths while remaining in the operator’s seat. The optional rolling cart is helpful when installing and removing the Snowthrower. And, want to stay warm and out of the wind while blowing all of that snow? Consider the fully enclosed metal winter cab (available for 700 and 900 Series Grasshopper power units).
Installation:
- Roll the unit into position on the cart.
- Slide square mounting bars into frame rails.
- Hook over mount bushings and rotate latch pins to secure.
- Tighten frame bolts with 7/16" wrenches.
- Attach the lift actuator and connect PTO.
- Plug into the 4-pin seat-mounted connector.
Removal: Disconnect power and PTO, remove frame bolts, release the latch pins, and slide the attachment forward on the cart.
How to install and remove the Coreless AERA-vator
Compacted soil prevents water and nutrients from reaching turf roots, especially in high-use or clay-heavy areas. We recommend aerating your lawn annually, ideally in the fall. This helps prepare the turf for winter while allowing grass to recover from summer stress. Using a push-behind aerator can be hard on the body. The machine is heavy, can be challenging to steer while tines are digging into the soil, and the jerking and pulling can put stress on your lower back.
Help is on the way. The PTO-driven Coreless AERA-vator™ breaks the surface to prepare lawns for overseeding or recovery in spring and fall, deep-fracturing the soil without leaving cores behind that can take weeks to break back down into the soil. The included cart simplifies alignment and positioning so one person can manage the installation and removal process with ease.
Installation:
- Roll the AERA-vator forward on its cart.
- Attach the PTO shaft using the pull-back collar mechanism.
- Lower attachment onto the mount bushings and release latch pins.
- Use the traction tool and stake pockets to attach vertical lift chains.
- Lower the footrest and plug into the wiring harness under the seat.
Removal: Release the lift chains, disconnect the wiring and PTO, rotate the latch pins, then lift and slide the attachment forward on its cart.
How to install and remove Little Bully Dozer Blades
Whether you’re pushing gravel back onto a drive, shifting mulch piles, or scraping packed snow, multipurpose Little Bully™ Dozer Blades provide controlled pushing power directly in front of the machine. The optional rolling cart assists with installation and removal.
Three models of Little Bully Dozer Blades are designed to meet a wide range of needs.
- The 48- and 60-inch dozer blades operate straight ahead or 25 degrees left or right, and they can be raised or lowered with hand and foot controls for easy operation.
- The 48- and 60-inch PowerBlade™ Pro models feature a foot pedal lift and operate straight ahead or angled hydraulically up to 25 degrees left or right.
- The 60-inch PowerBlade hydraulically lifts and angles the blade up to 25 degrees left or right.
Installation:
- Raise the footrest and slide the square mounting tubes into the rear bolt holes.
- Pull the handle to move up and over the attachment bushings.
- Release spring-loaded latch pins to set the connection.
- Tighten mounting bolts and lower the footrest.
Removal: Loosen the bolts, rotate the latch pins, lift the blade up and forward, and slide the mounting bars out.
Get more done with your Grasshopper mower
Switching attachments allows the same tractor to handle seasonal work, reducing the number of engines to maintain, freeing up storage space, and keeping crews moving. Learn more about Grasshopper attachments, and try them for yourself. Schedule a demo with your local Grasshopper dealer.
.jpg)